“No one’s life is as perfect as his or her Instagram feed.”
Have you ever scrolled past a photo of food or clothing on Instagram and instantly been awed? Without even realizing it, more than just the item on display caught your eye. The photo you loved was staged, filtered and carefully planned by its publisher. You might be surprised to learn just how much planning goes into an Instagram photo! (Those who rock their Instagram feeds can even make a career out of it!)
Here are our tips to becoming a rockstar at Instagram-worthy photos:

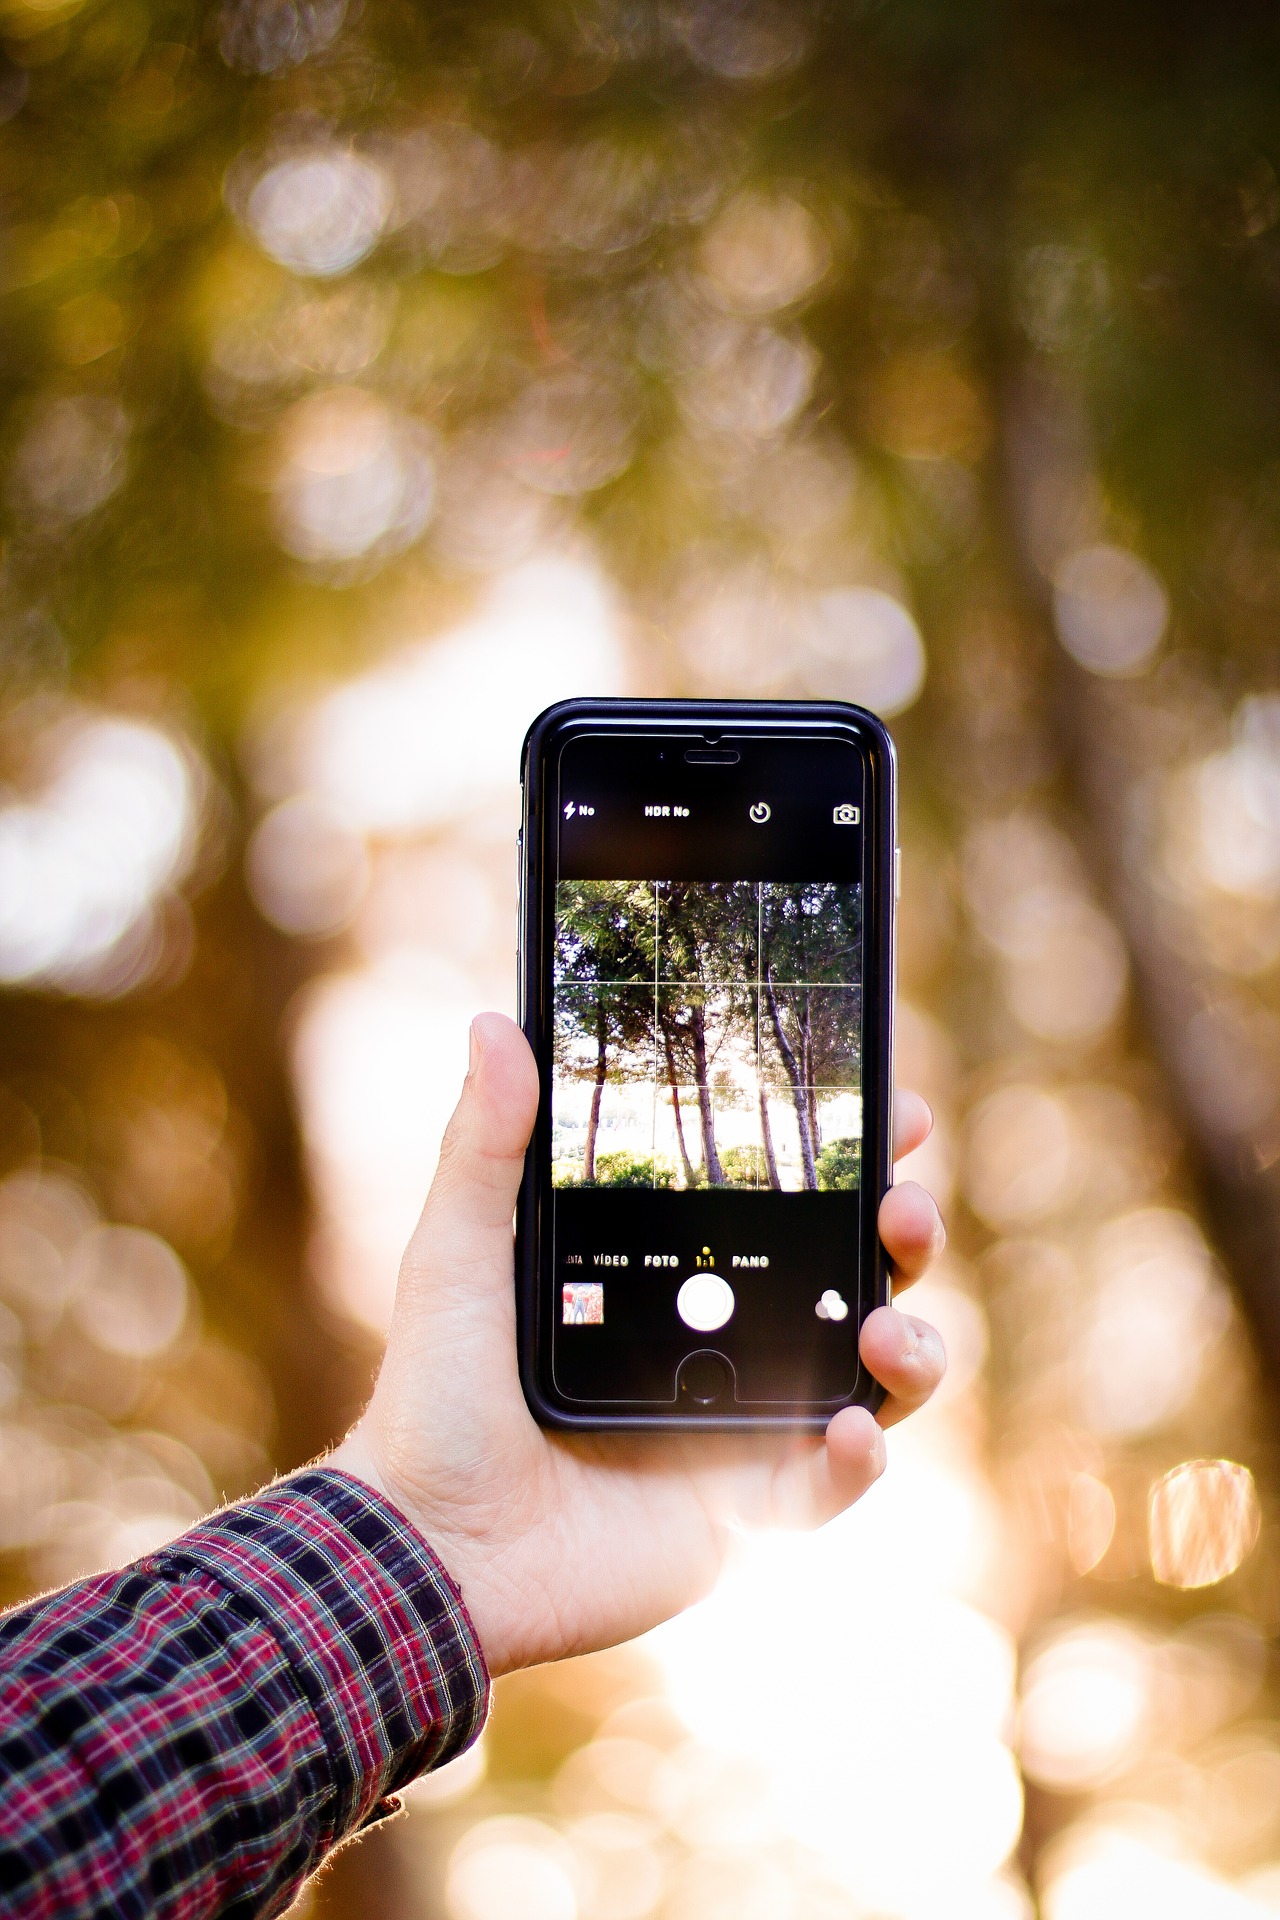
Use the best camera that you know how to use. Not all of the best photos Instagram has to offer are taken with a professional HDR camera. An iPhone equips you to take a clear and precise image. Focus on the object by tapping on your screen; turn off HDR to promote clarity. If you do know how to use a more professional camera, absolutely use it, as it offers a variety of manual settings and functionalities.
Leverage natural lighting. Lighting plays a vital role in the quality of the image. Using natural outdoor lighting, whether outside or through a window, will produce life-like images. Be sure not to take photos in direct sunlight, as it will overexpose the image. Aim to photograph in a setting with shade, overcast light and at sunrise or sunset to produce the best quality.

Stage it. First, select a background that expertly showcases your subject. For example, a white backdrop will showcase a complex item or product. A background with a pattern or specific colors will complement your product or person while adding interest and dimension. Keep in mind that photo size restrictions might apply. For example, shooting a photo in square mo
de via your iPhone is always a safe move to match Instagram’s feed. According to Colorlib, the maximum upload for a vertical image without cropping is 1080px in width by 1350px in height and 1080px in width by 566px in height for horizontal images. Finally, employ the rule of thirds, mentally dividing your image with two horizontal and two vertical lines. Note where the horizontal and vertical lines meet, like demonstrated in the graphic, and position the most important elements at the points of intersection. Using the rule of thirds is easy by turning on your iPhone’s grid feature.

Angle it. Explore changing the angles of your photo for widely varied outcomes. For example, stand high above to shoot directly over your product or get on ground level with the object to capture a profile view.
Edit it. Few Instagram-worthy photos are uploaded without a filter or two. To create a coherent feed, apply the same filters to your photos. Of course, you might need to lighten an image more so than another, but if you’re sharpening images to add clarity, sharpen them all. If you’re removing the highlights, remove them all. The app VSCO provides multiple tools to achieve the perfect edit. You can add or remove exposure, contrast, saturation and skin tone — just to name a few. The app Color Story supplies hundreds of additional filters. Need to smooth a specific part of a photo or swap two different pieces of the photo altogether? Check out Facetune.
Follow these steps, and you’re ready to post. We bet it’s your best Instagram photo yet! In the meantime, check out how to use “Instagram ‘Highlights’ for Business” to continue to grow your company’s Insta presence.
Written by Clairemont intern, Kennedy Norton, a junior at North Carolina State University.


